Posted by Chris on 17th Apr 2025
Wood Stove Installation Guide: Steps, Safety Tips, and Key Considerations

Wood stoves offer warmth and a touch of style to many homes, but installing one isn’t as simple as dropping it in the living room. You really have to plan the setup and focus on safety, or you could end up with fire hazards or ventilation headaches.
This guide walks you through the main steps for installing a wood stove, from picking a location to understanding permits and safety. If you follow these steps, you’ll have a stove that works well and safely without stumbling into the usual pitfalls.
Getting Ready for Wood Stove Setup

Checking Rules and Getting Approval
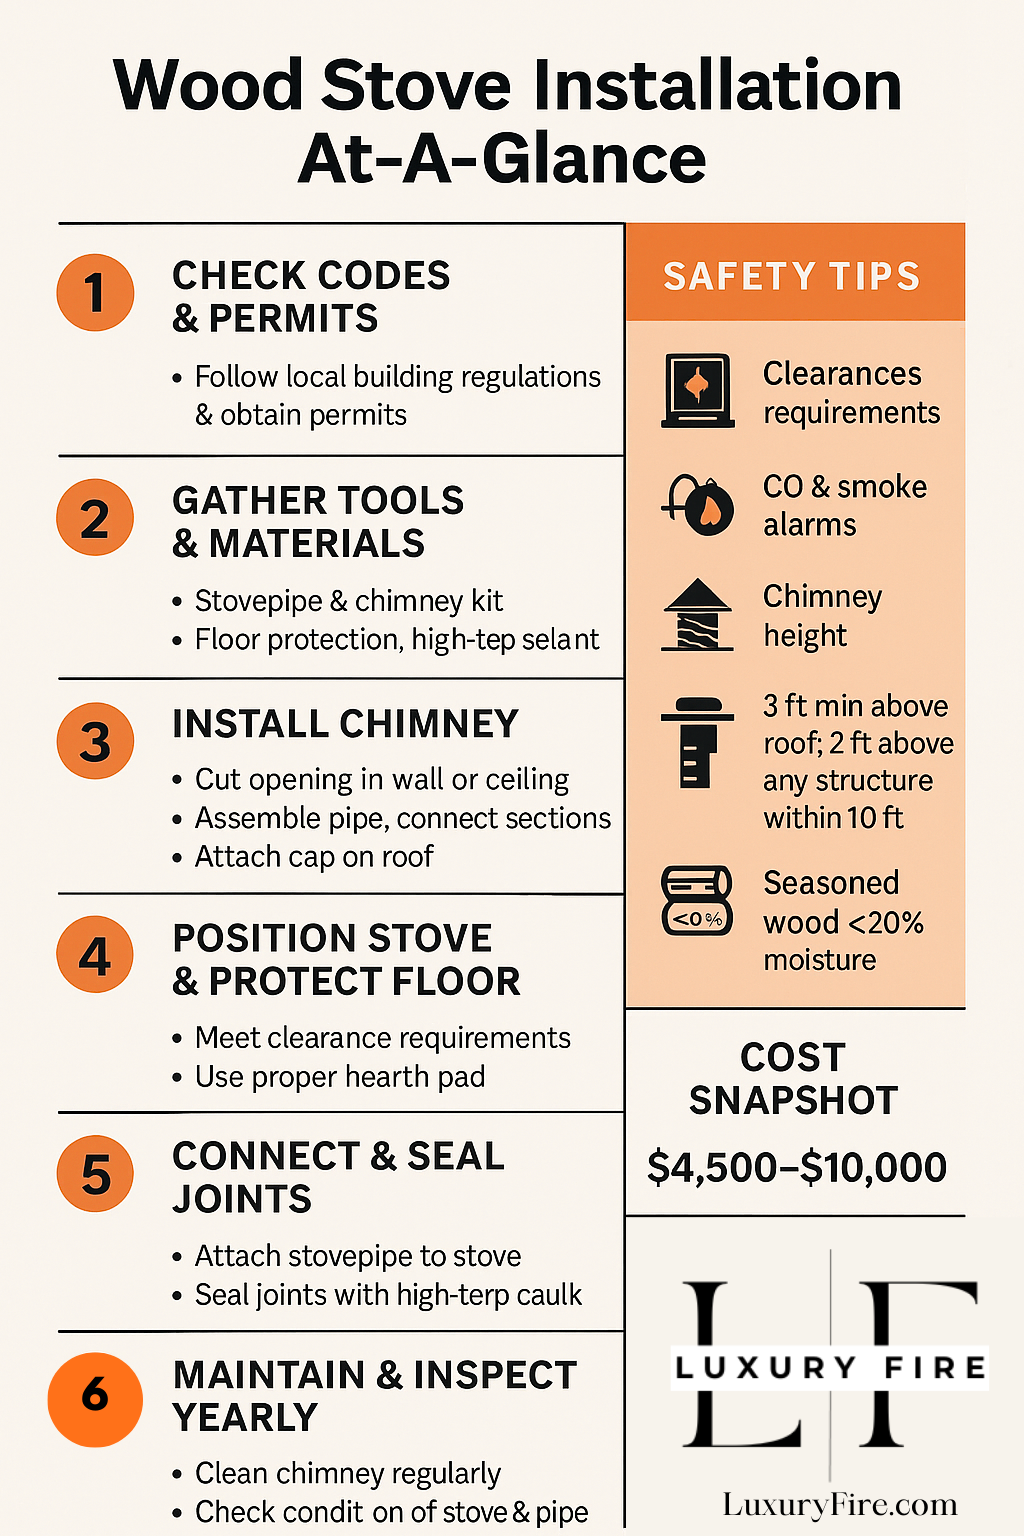
Before you even think about tools, check your local codes. Most towns want you to get permits and will inspect your work at the end.
Some folks might even snag a tax credit for putting in a new wood stove. It’s worth asking about.
Picking the Best Spot for the Stove
Choosing where the stove goes is more than just picking a cozy corner.
The manual that comes with your stove usually spells out the exact clearances, so definitely give it a look.
Meeting Floor Safety Standards
The floor under and around your stove needs protection no exceptions. Lay down a fire-resistant pad, or use stone or tile as a base.
This setup keeps heat from damaging your floor and stops stray sparks from causing trouble.
| Material Needed | Purpose |
|---|---|
| Hearth pad/tile/stone | Protects floor from heat |
| Manuals | Gives distance guidelines |
Wood Stove Installation: Essential Needs, Equipment and Materials
Tools to Gather
Having your toolkit ready makes the whole thing go smoother. Here’s what you’ll probably need:
- Tape Measure: For checking distances and placement.
- Power Drill with Bits: Attaches supports and brackets.
- Level: Makes sure your stove and chimney aren’t crooked.
- Saw (Reciprocating or Hole Saw): Cuts openings for venting.
- Adjustable Wrench and Screwdrivers: Puts pipe sections and fasteners together.
- Caulking Gun and Heat-Resistant Sealant: Seals up little gaps in joints or pipes.
- Safety Equipment (Goggles, Gloves, Respirator Mask): Keeps you safe from dust and sharp bits.
| Tool | Purpose/Use |
|---|---|
| Measuring Tape | Checks clearances |
| Drill & Drill Bits | Secures components |
| Level | Aligns stove and chimney |
| Saw | Cuts vent holes |
| Wrench & Screwdrivers | Tightens fasteners |
| Caulking Gun & Sealant | Seals joints |
| Safety Gear | Personal protection |
Materials Checklist

Running out of supplies halfway through is the worst. Here’s what you’ll want on hand before you start:
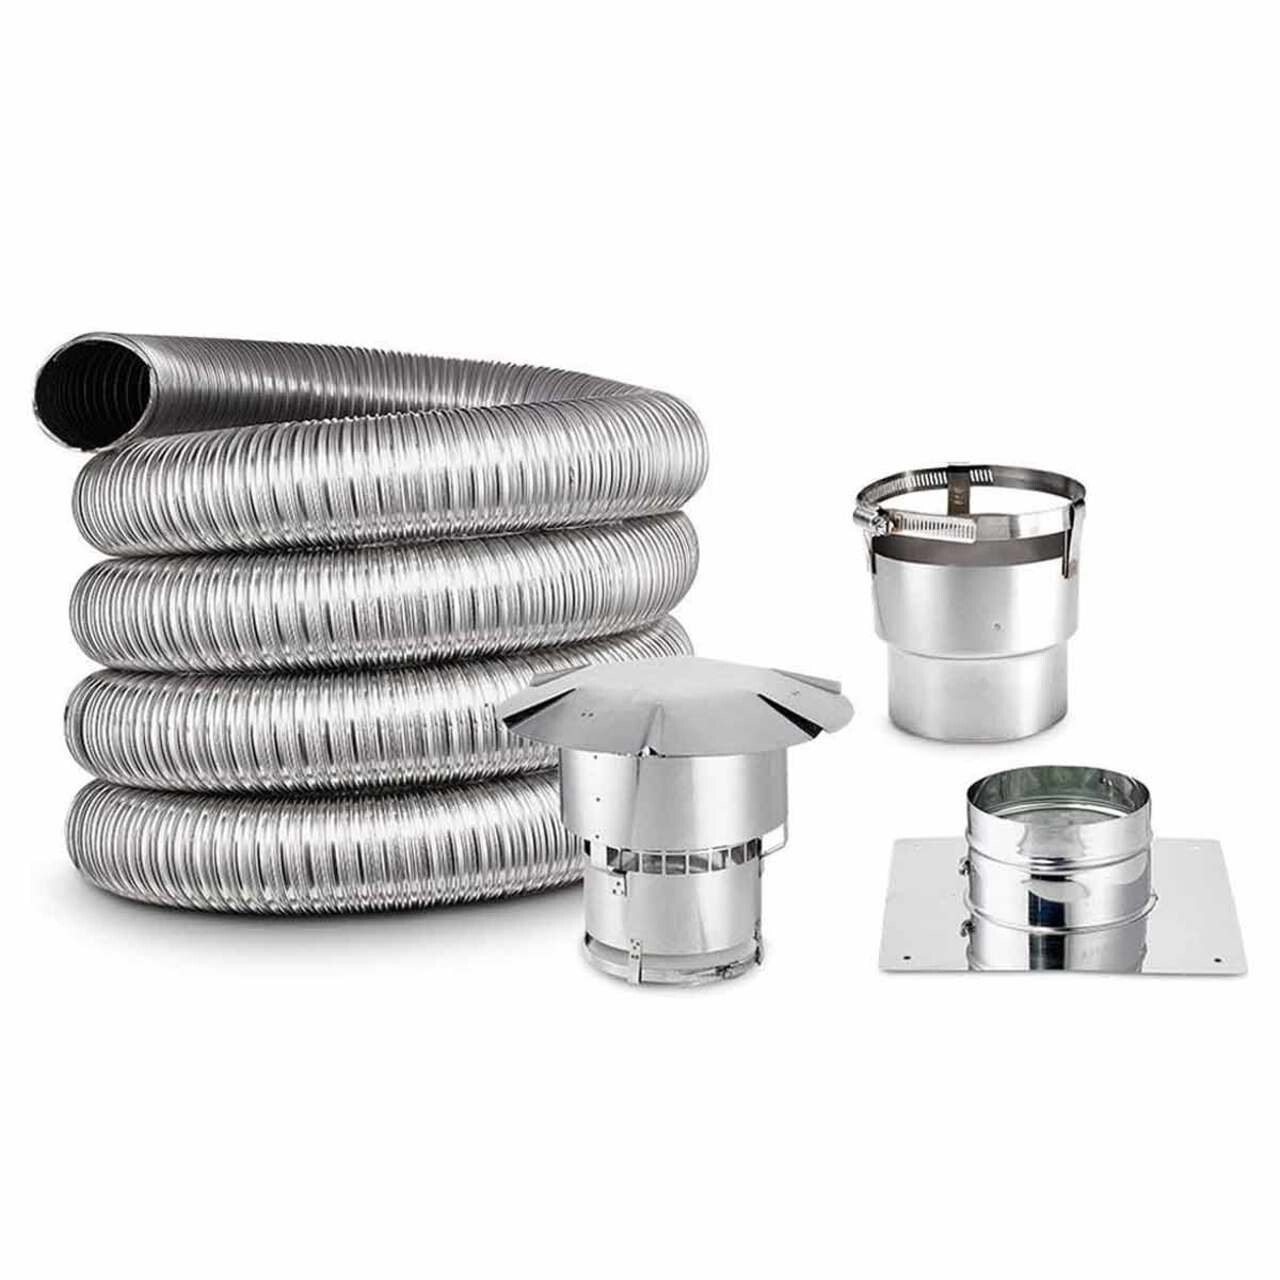
- Stove Pipe and Chimney Kit: Needs to match your stove and handle high heat.
- Hearth Pad or Floor Guards: Heat-safe base under the stove.
- Brackets for Wall/Ceiling Support: Holds venting pipe steady.
- Chimney Cap: Keeps out water, critters, and leaves.
- Heat Shield (if necessary): Protects walls when space is tight.
| Material | Application/Purpose |
|---|---|
| Stove Pipe & Chimney Kit | Carries smoke outside |
| Hearth Pad/Floor Protector | Prevents heat damage |
| Wall/Ceiling Brackets | Stabilizes chimney |
| Chimney Cap | Blocks debris/rain |
| Heat Shield (as needed) | Adds wall protection |
Getting Ready for Installation
- Re-check all Measurements: Double-check every clearance so the stove isn’t too close to anything.
- Organize All Parts: Set out tools and materials where you’ll need them.
- Examine All Equipment: Look over the stove, pipes, and seals. Don’t use anything that’s damaged.
How To Install a Wood Stove Chimney Through a Wall
Choosing the Right Chimney System
Picking a chimney system is a big call. There are two main types: sidewall (through the wall) and straight up (through the roof).
- Sidewall systems work when cutting through the roof isn’t realistic. They need bends, extra chimney sections, and more bracing.
- Roof systems usually use fewer pieces and create a direct path for smoke, but sealing the roof pipe is a must.
Your choice depends on your home’s design, where you want the stove, and what’s safest.
Step 1: Making an Opening for the Chimney Pipe
Mark where the chimney will exit the wall, lining it up with the stove below. Double-check your measurements before you cut.
Use a reciprocating saw or a big hole saw to cut the opening. The hole should be a little bigger than the pipe for clearance, but don’t overdo it.
Important: Keep the opening away from wood framing, insulation, or anything flammable. This clearance is required by code and the stove maker.
Safety Gear: Throw on goggles and a mask cutting into walls kicks up dust and debris.
Step 2: Connecting Chimney Pipes and Bracing
Start by attaching the first pipe section to the stove’s outlet. Use a high-heat sealant for a tight fit.
Add brackets to support the pipe, especially where it goes through the wall. Screw them in tight so nothing shifts. Keep stacking pipe sections, making sure each one fits snugly into the next. Check with a level to keep everything straight, inside and out.
Tip: Go over every joint twice for tightness. Use the hardware that comes with your pipe kit.
Step 3: Attaching the Chimney Top and Weather Hood
Cap the chimney stack outside with the proper top piece. The cap keeps out rain, snow, animals, and leaves and it helps your stove draft correctly.
Follow the instructions and fasten the cap so it won’t blow off. A good chimney cap keeps things running smoothly all year and cuts down on blockages.
| Step | Brief Description |
|---|---|
| Mark and cut vent opening | Choose location, cut wall, check safety |
| Attach chimney pipe | Seal, bracket, align, connect sections |
| Install vent cap | Fix to the top, prevent leaks/drafts |
Positioning the Wood Stove
Setting the Stove in Place
Set the stove on a heatproof surface like a hearth pad. Center it so nothing sticks out past the protected area.
Leave enough space around the stove usually at least 36 inches from any wall or flammable object. The stove manual will tell you the minimum.
Make sure the stove sits flat and steady. If it wobbles, adjust the legs or base until it’s solid. You don’t want a tippy stove.
Attaching the Pipe and Connecting to the Chimney
Connect the stove pipe to the stove’s flue opening. Use screws, clamps, or whatever hardware fits your setup.
Seal every joint with a high-heat sealant. Run a bead at each pipe connection to keep things airtight and block smoke leaks.
Check that every pipe piece fits tight. No gaps or loose spots. Go over the whole run up to the chimney.
| Task | Materials Needed | Tips |
|---|---|---|
| Connect stove pipe | Screws or clamps, pipe sealant | Tighten all fittings |
| Seal joints | High-heat silicone sealant | Use enough sealant for a full seal |
| Check fit | — | No gaps or loose sections |
Testing for Leaks and Airflow
Light a small fire with dry kindling. This gives you a chance to spot leaks or drafts right away.
Look at every joint and seal for smoke. If you see any, add more sealant or tighten things up.
Check how well the stove draws air. Good airflow means smoke goes up and out. If smoke drifts into the room, you’ll need to tweak the setup.
FAQs around Wood Stove Installation
How Much Does It Typically Cost to Install a Wood Stove?
Most installs land between $4,500 and $10,000. That covers the stove, chimney parts, a hearth pad, and hiring someone to do the work.
If you need special venting or extra safety features, the price can climb.
Cost Range Overview:
| Service/Item | Price Estimate |
|---|---|
| Stove & Basic Parts | $3,500 - $7,500 |
| Labor & Install | $1000 - $2,500 |
| Extra Features/Custom | Varies (Additional) |
Is It Possible to Set Up a Wood Stove Without a Professional?
You can install a wood stove yourself if you follow building codes and safety rules. Still, a lot of people hire a pro because venting, cutting holes, and chimneys can get tricky fast.
DIY saves money, but you have to plan every step and check all the rules. Tip: Always call your local building office before you start.
What Are the Costs of Adding a Wood Stove to an Existing Home?
If your house doesn’t have a stove, expect to spend $2,000 to $5,000. The price depends on how complicated the job is and if you need a brand-new chimney.
Bigger stoves or more complex setups will bump the price up.
Typical Expenses:
- Stove and venting materials
- Labor fees
- New chimney system (if needed)
Recommended Height for a Wood Stove Chimney
Your chimney should be at least 15ft tall and rise at least three feet above the roof where it exits. It also needs to be a minimum of two feet higher than anything within ten feet of it on the roof.
These measurements help your stove work safely and keep smoke out of the house. Check local codes and the manufacturer’s instructions for the final word.
Final Thoughts on Wood Stove Installation
Getting a wood stove up and running can make your place warmer and a lot more inviting. But honestly, safety comes first give the stove enough space, use the right materials, and don’t cut corners.
- Leave plenty of clearance from walls and ceilings.
- Use a certified chimney for smoke control.
- Check local building codes before you start.
- Plan for regular cleaning and inspections.
Whether you go the DIY route or call in a pro, taking your time and paying attention to details makes a huge difference. A well-installed stove will last longer, run better, and just make your home feel like, well, home.
